Create your first project
From a blank screen to a complete technical blueprint in under 10 minutes. This guide walks through every step.
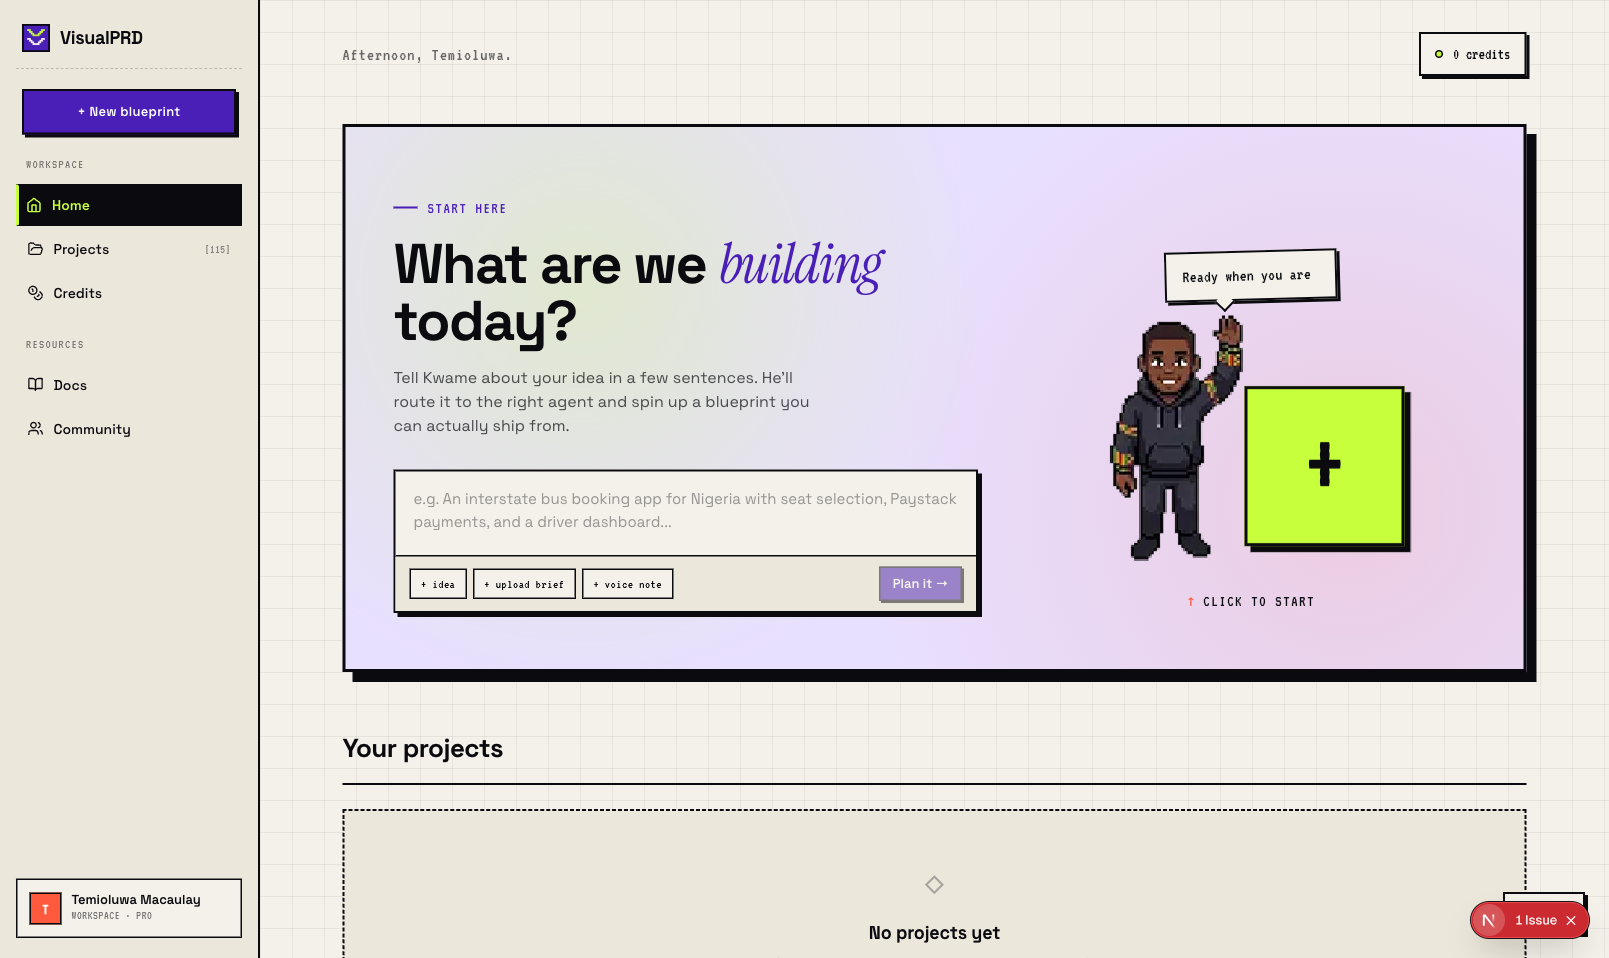
1. Sign up and land on the dashboard
After signing up, you land on the VisualPRD home screen. Every project you create appears here as a card.
2. Click "+ New blueprint"
Hit the purple "+ New blueprint" button in the top-left sidebar. You'll be taken into the interview flow.
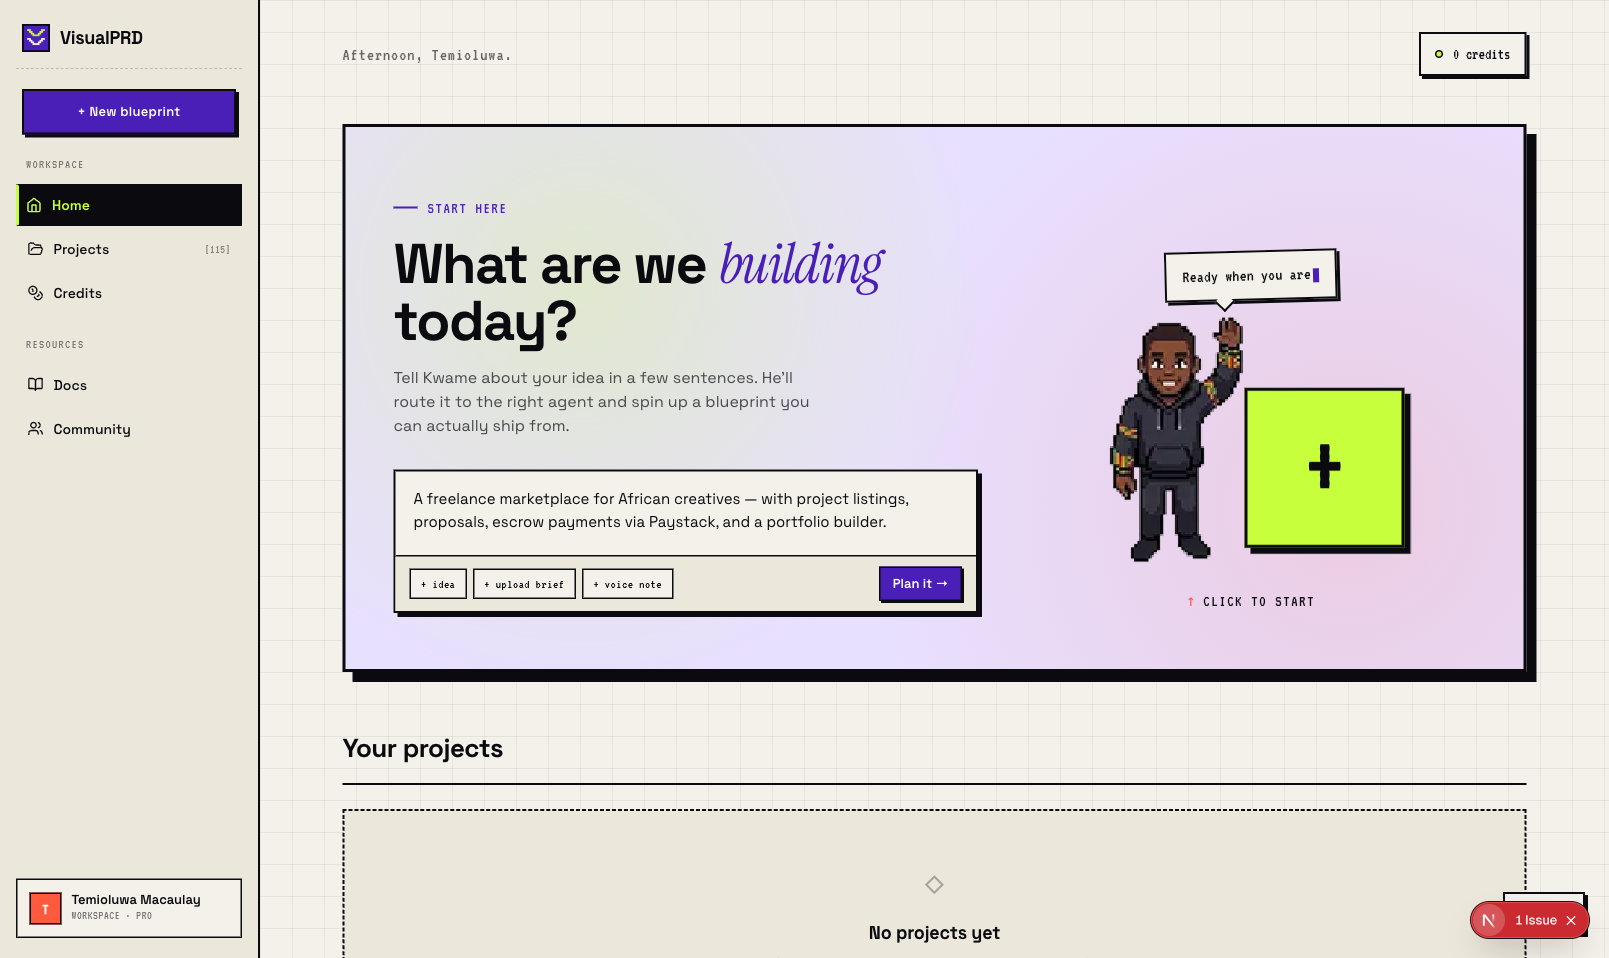
3. Answer the interview questions
VisualPRD asks about your platform (web/mobile), tech stack, and the core features you need. Short answers are fine — the AI infers what you mean.
4. Wait for generation (~3–8 minutes)
Once you confirm your selections, the V10 pipeline fires. You'll see a live activity feed as it plans flows, resolves cross-flow dependencies, and writes build instructions.
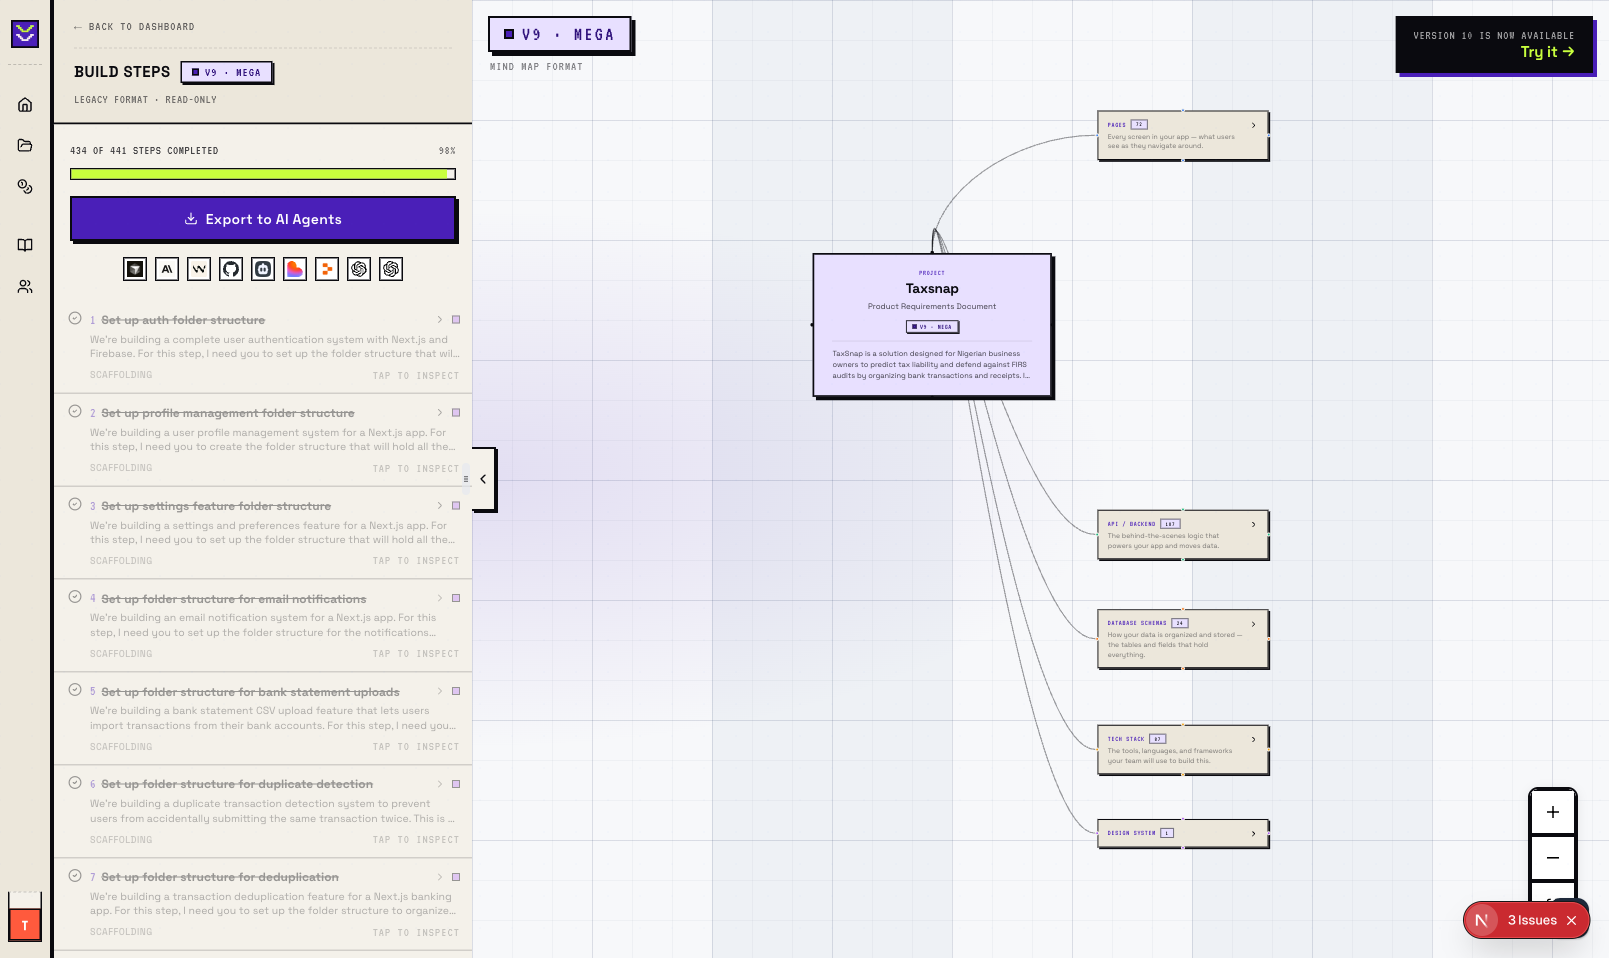
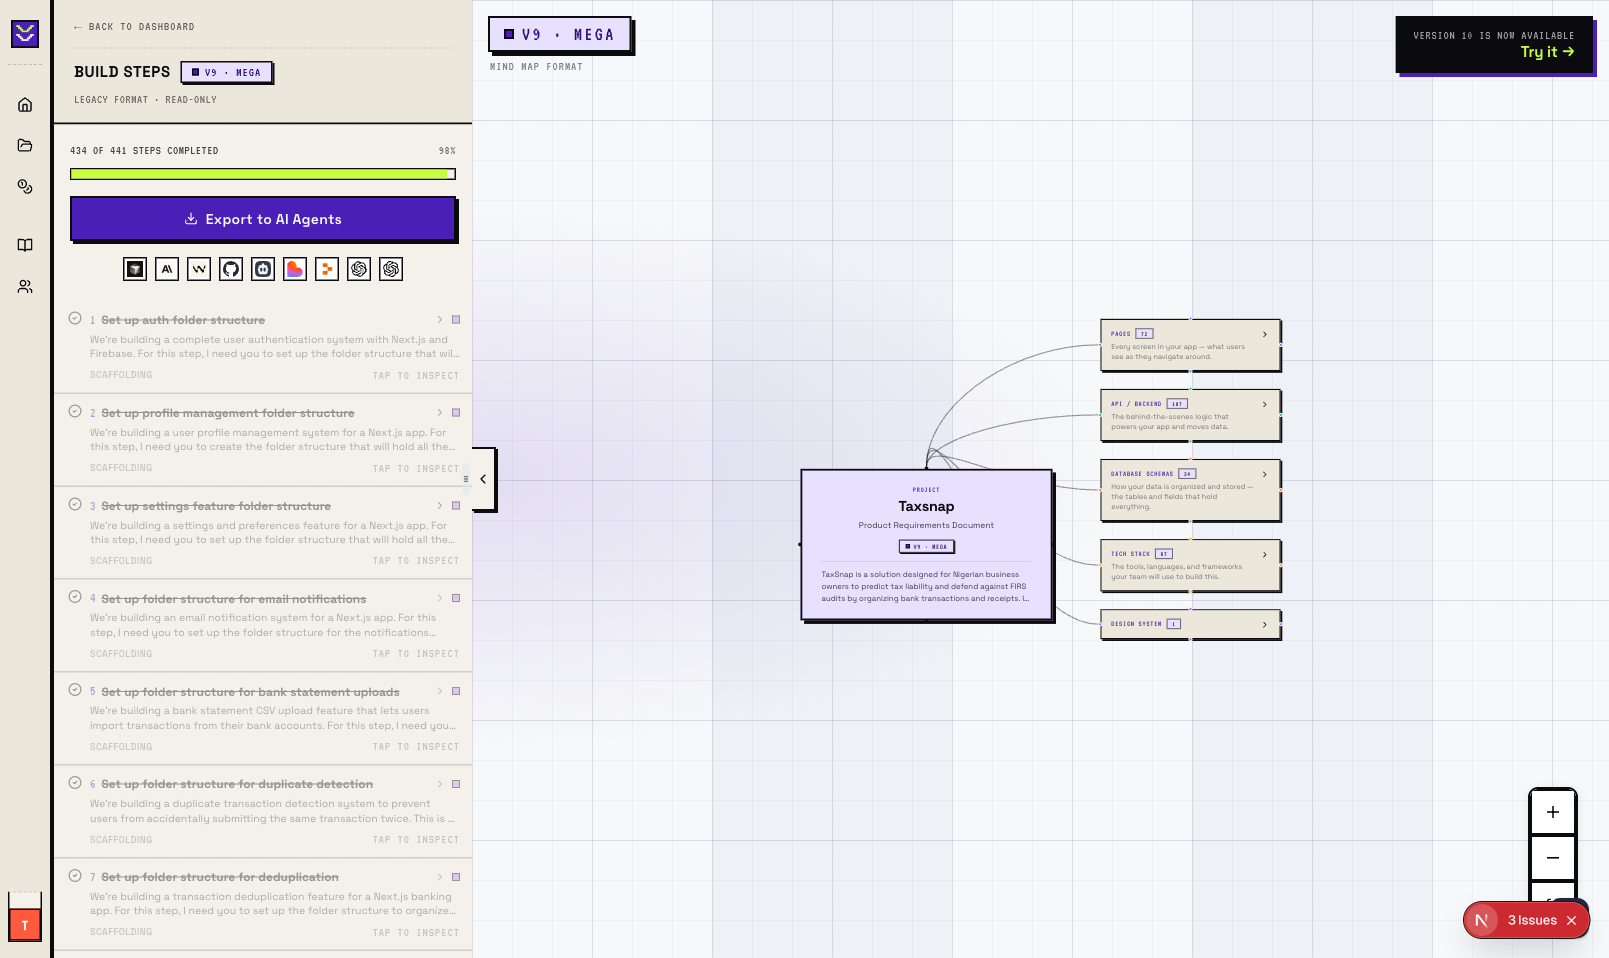
5. View your blueprint
When generation completes, your project card shows "Completed." Click it to open the schematic viewer — a visual map of every flow, page, and function in your app.